
Getting frustrated
with constantly changing the schedule on your old-school thermostat? Or maybe you never learned to change it in the first place — and it’s been stuck on 73 degrees for the last year.
Either way, traditional thermostats aren’t ideal. Unless you take the time to update them continually (at least once per season, when the weather changes),
they’re inefficient and tend to waste power by running your heating and air conditioning unnecessarily.
For many homeowners
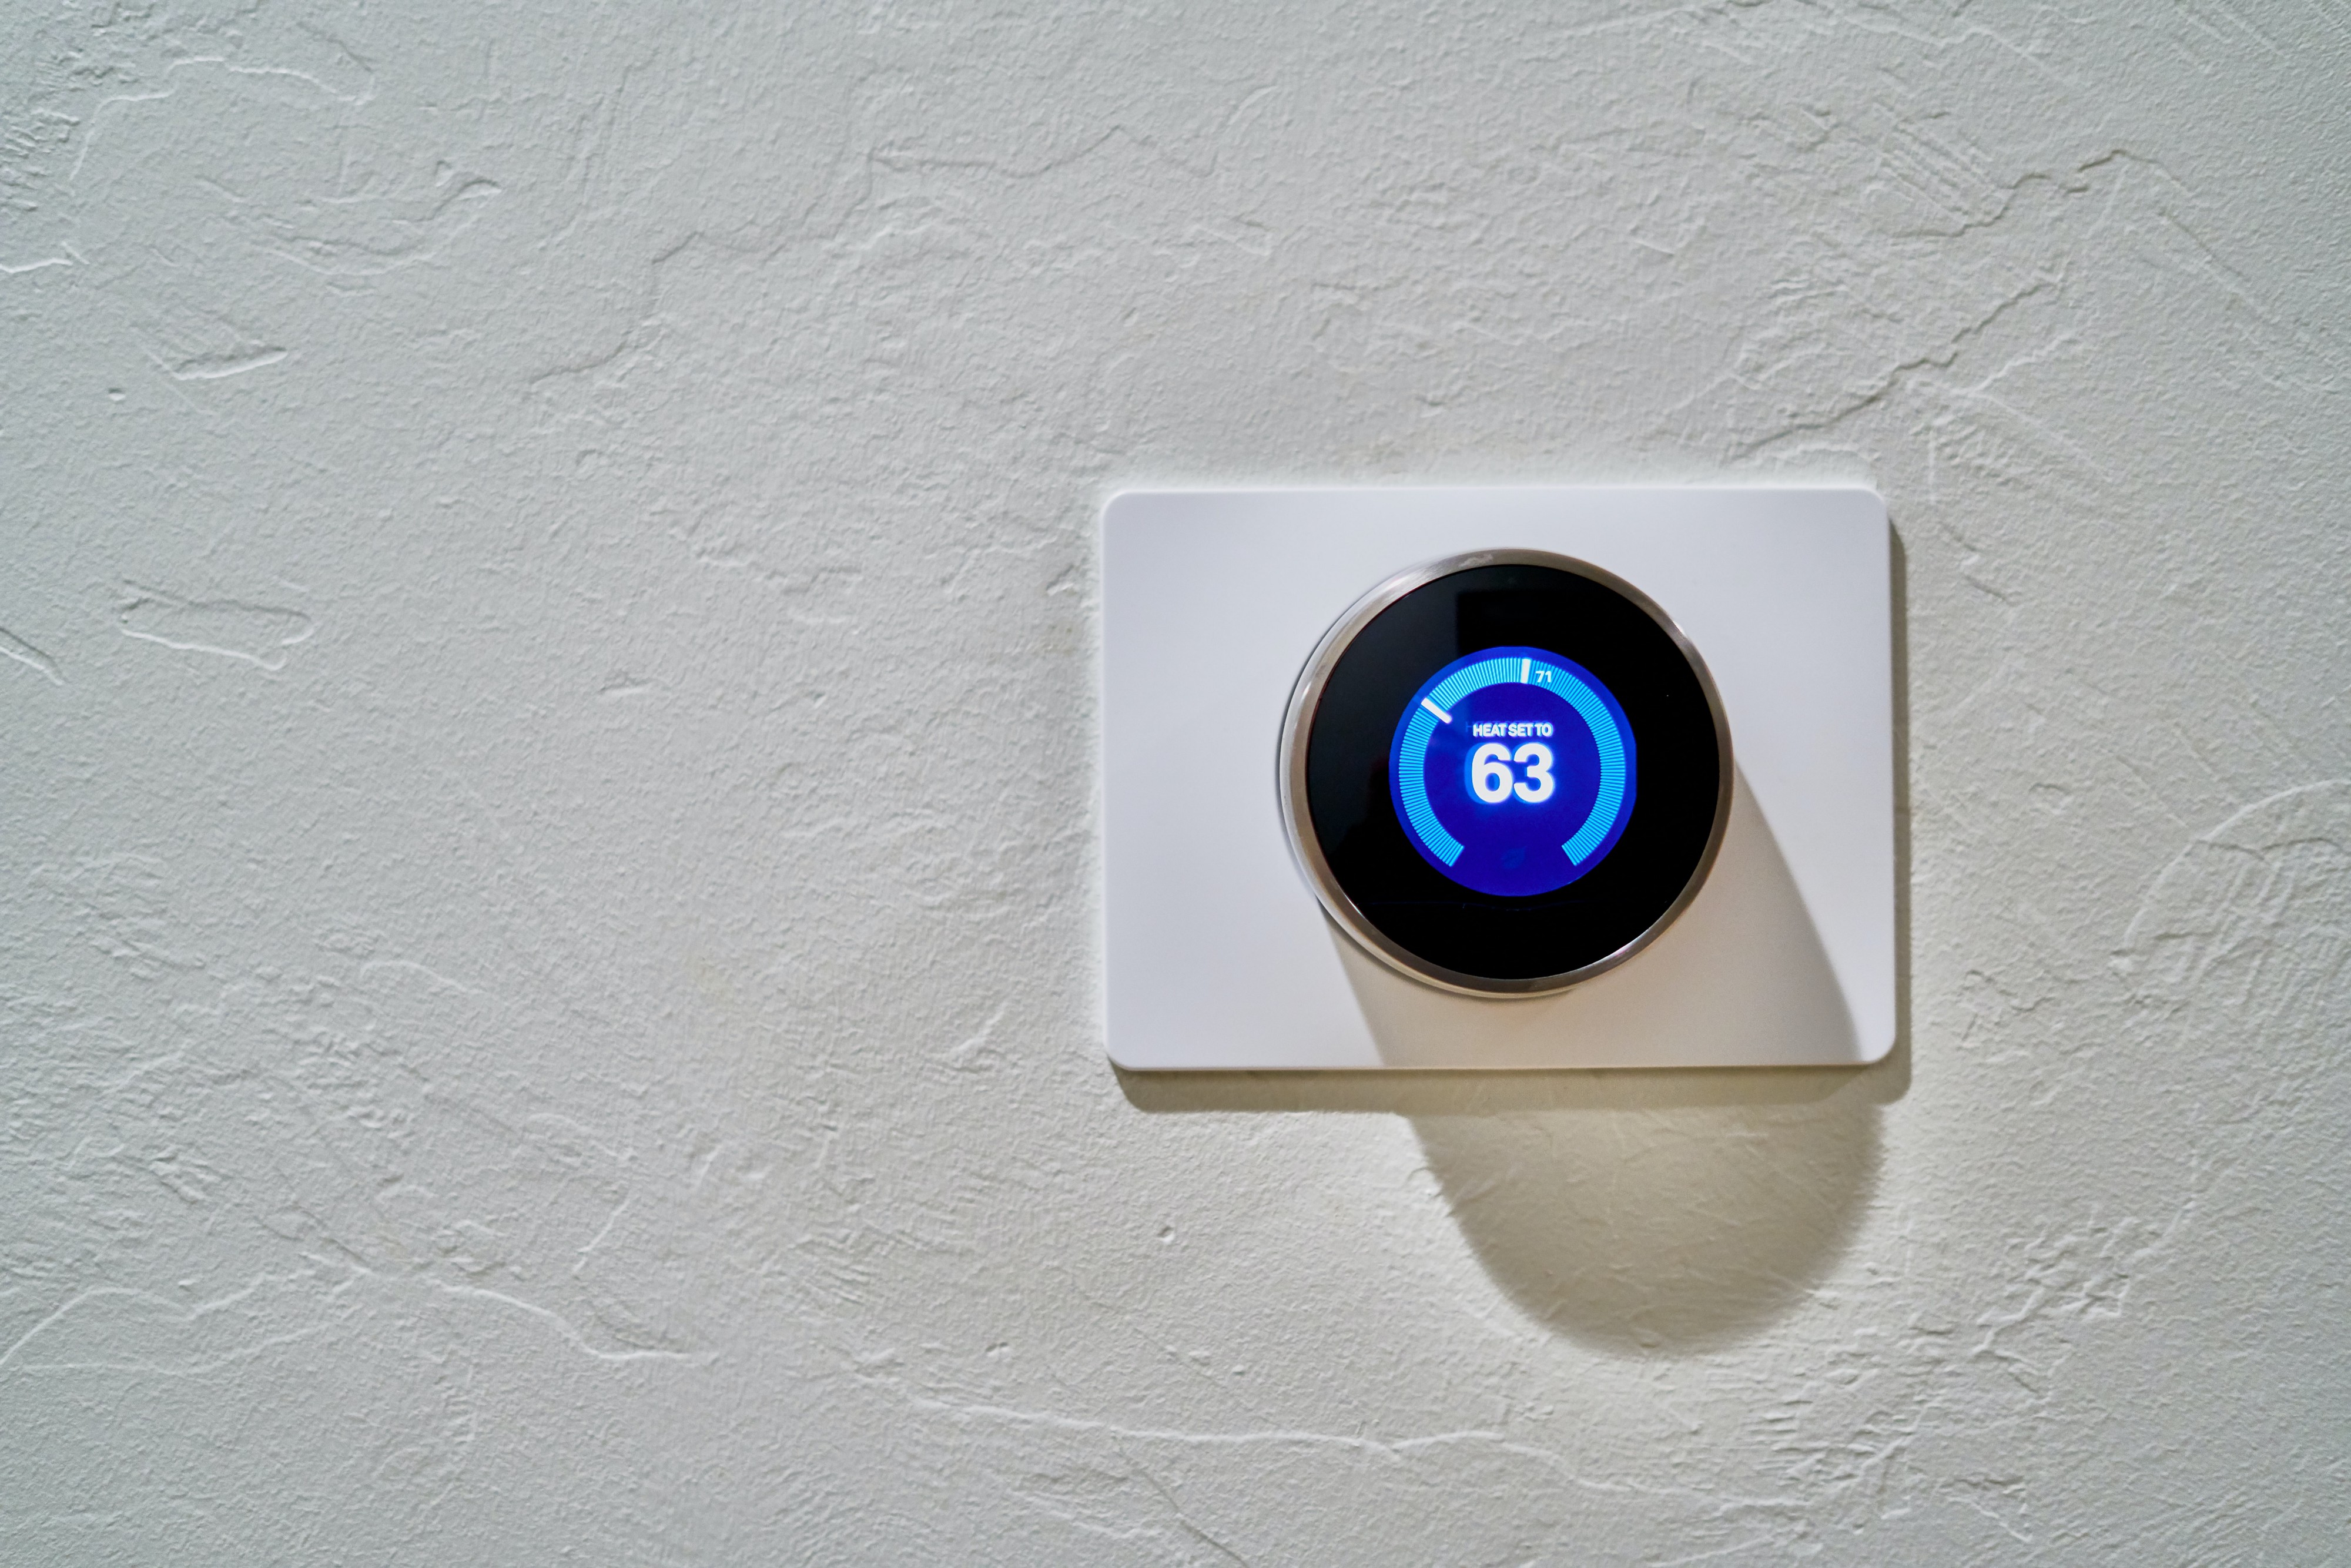
Smart thermostats are a better choice. According to a study by Google’s Nest division, smart thermostats can save homeowners between 10% to 15% on heating and cooling costs. Over the course of several years, those savings can be quite significant. Smart thermostats also allow for remote control of your home’s temperature from your phone, and many thermostats automatically switch the HVAC on and off when you arrive home or leave for the day.
Google’s Nest Learning Thermostat can be a great choice for a smart thermostat in your home. I’ve heard of other people using and enjoying the Ecobee thermostat (which is backed by Amazon), as well. One of the biggest advantages of the Nest Thermostat is that it’s relatively easy for many homeowners to install. I recently installed my own Nest Learning Thermostat. The whole process took me about 45 minutes.
Here’s how I installed my Nest.
Quick caveat: Installing a thermostat requires working with electrical power and making modifications to your home. Make sure that you’re comfortable doing this before proceeding. If you feel uncomfortable in any way, always hire a licensed electrician to assist with your installation.
First, I located the circuit breaker for my HVAC system.
You always want your system to be switched completely off before adding a thermostat or making other changes. I flipped my circuit breaker, and then checked to ensure that the system wasn’t operating my setting my thermostat to different settings, turning the fan on manually, etc. I confirmed that it was fully off.
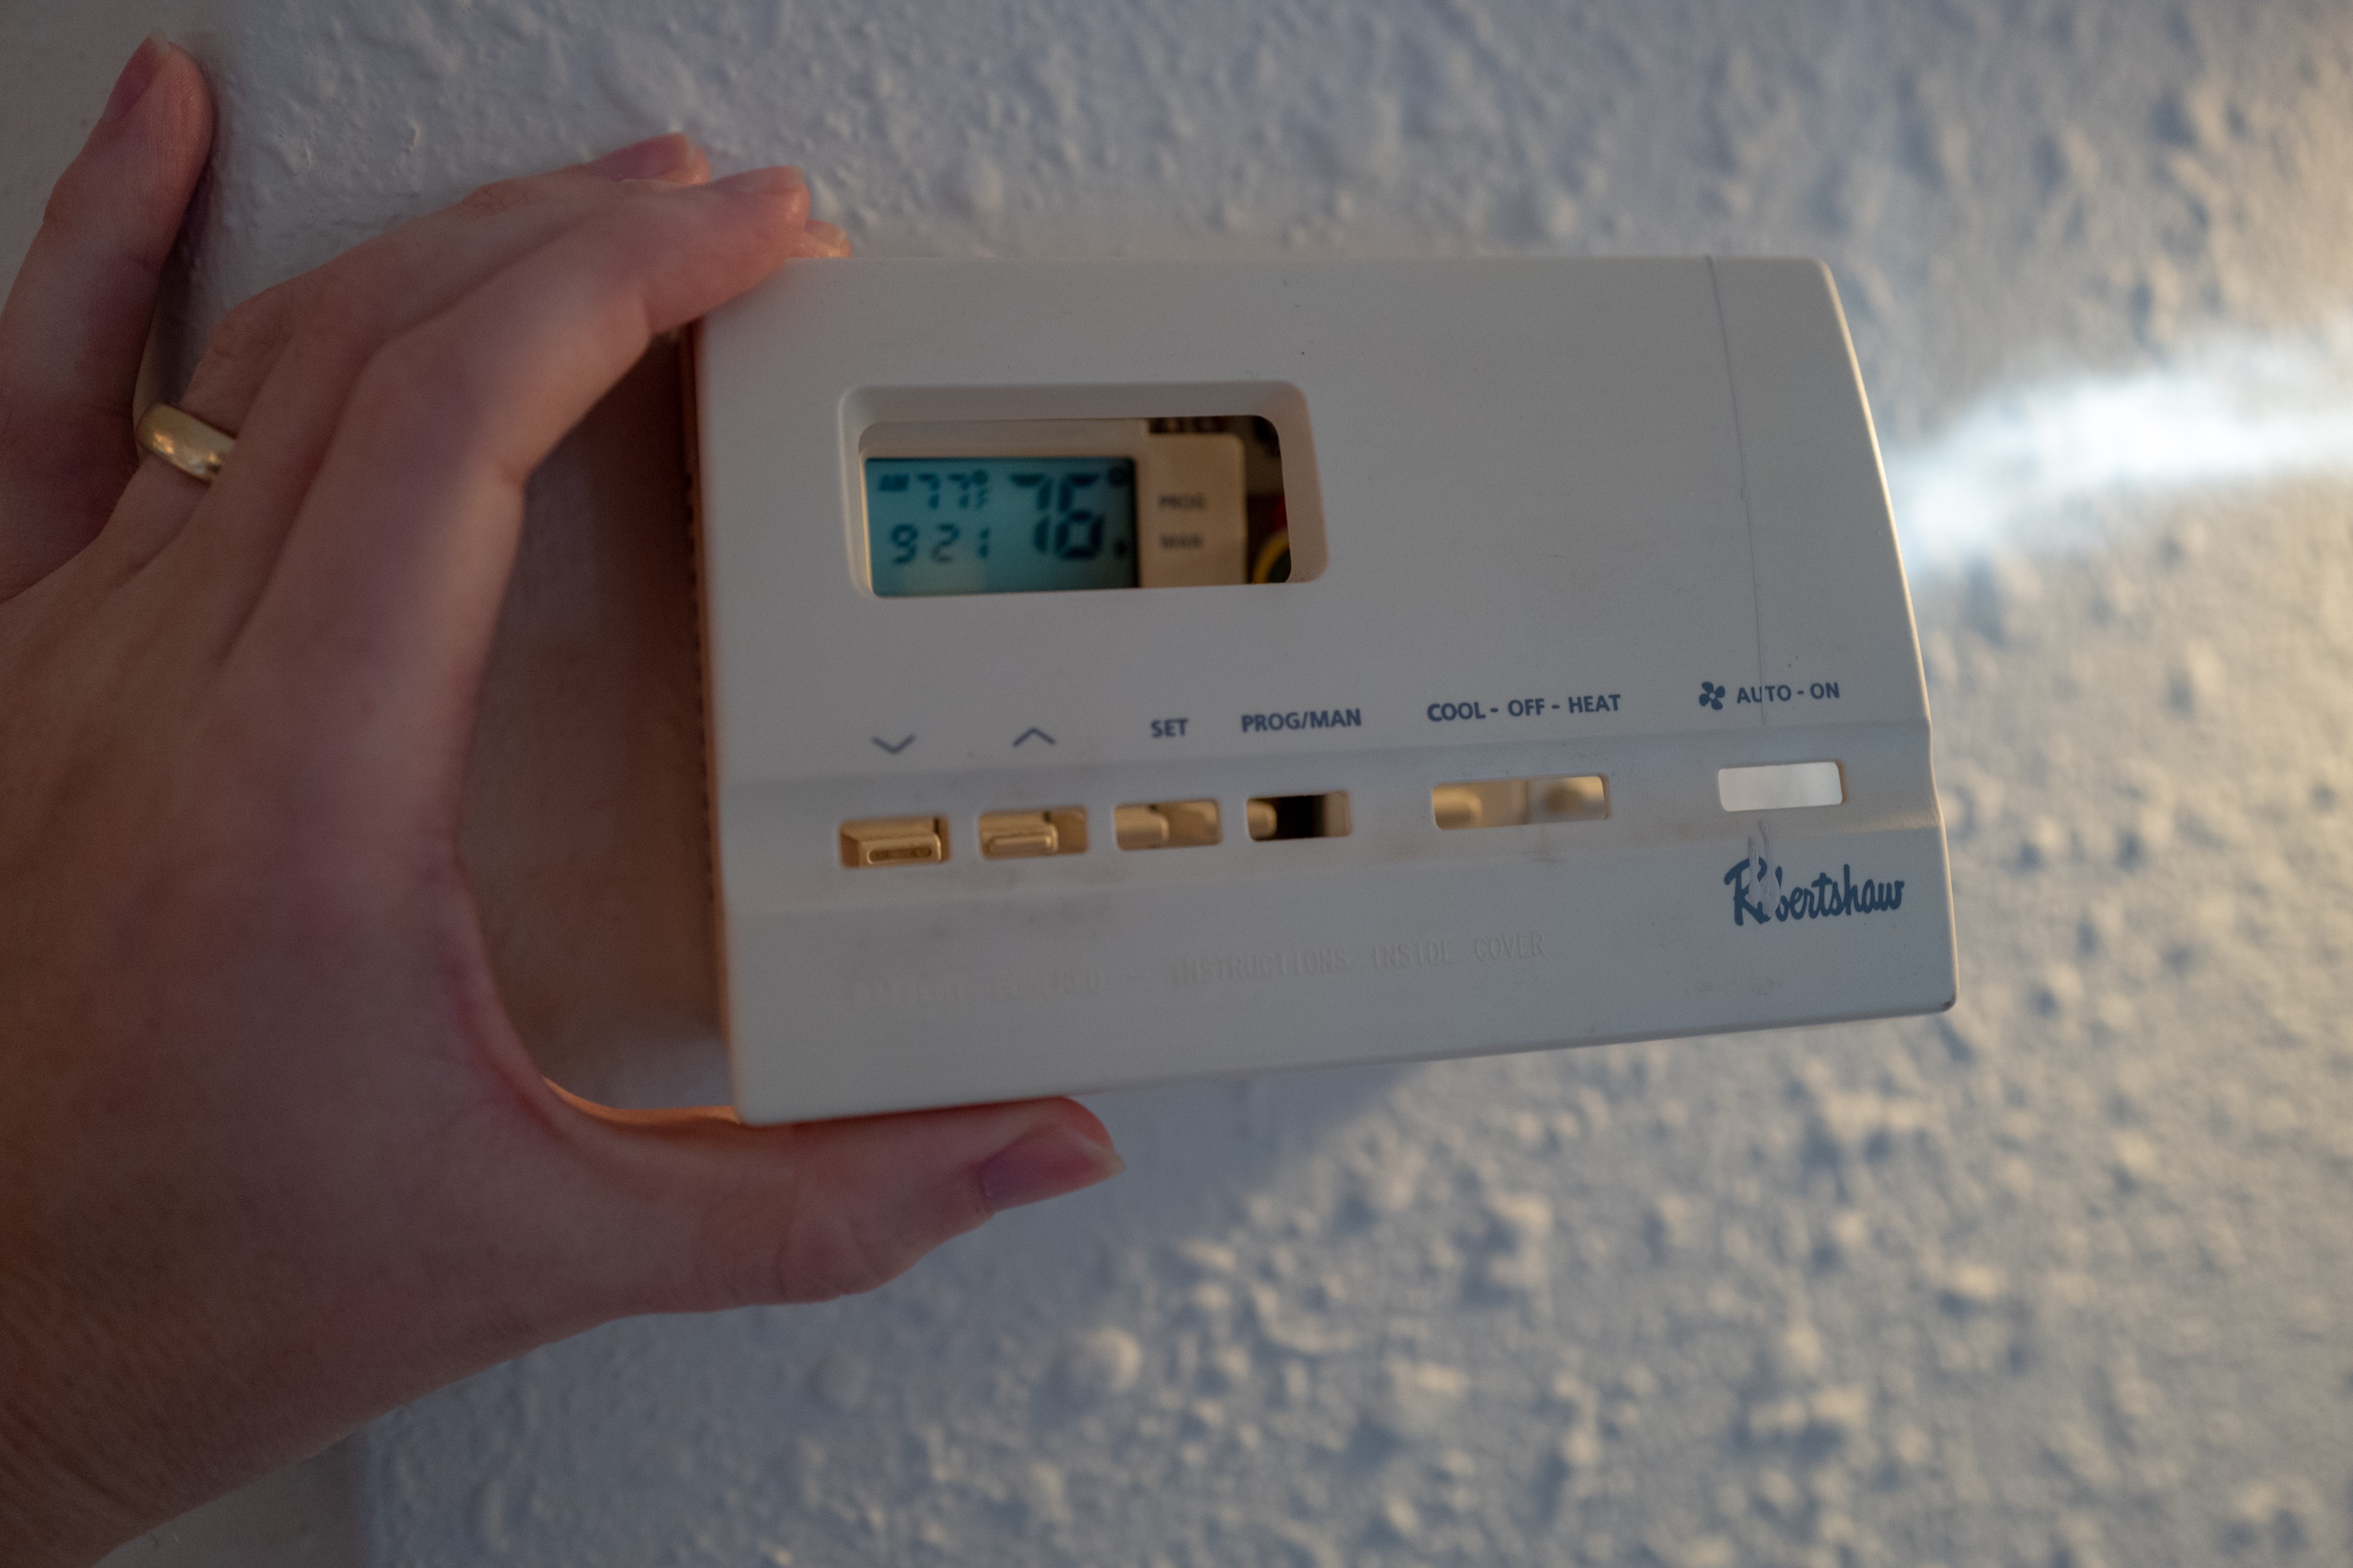
I removed the cover from my ancient thermostat.
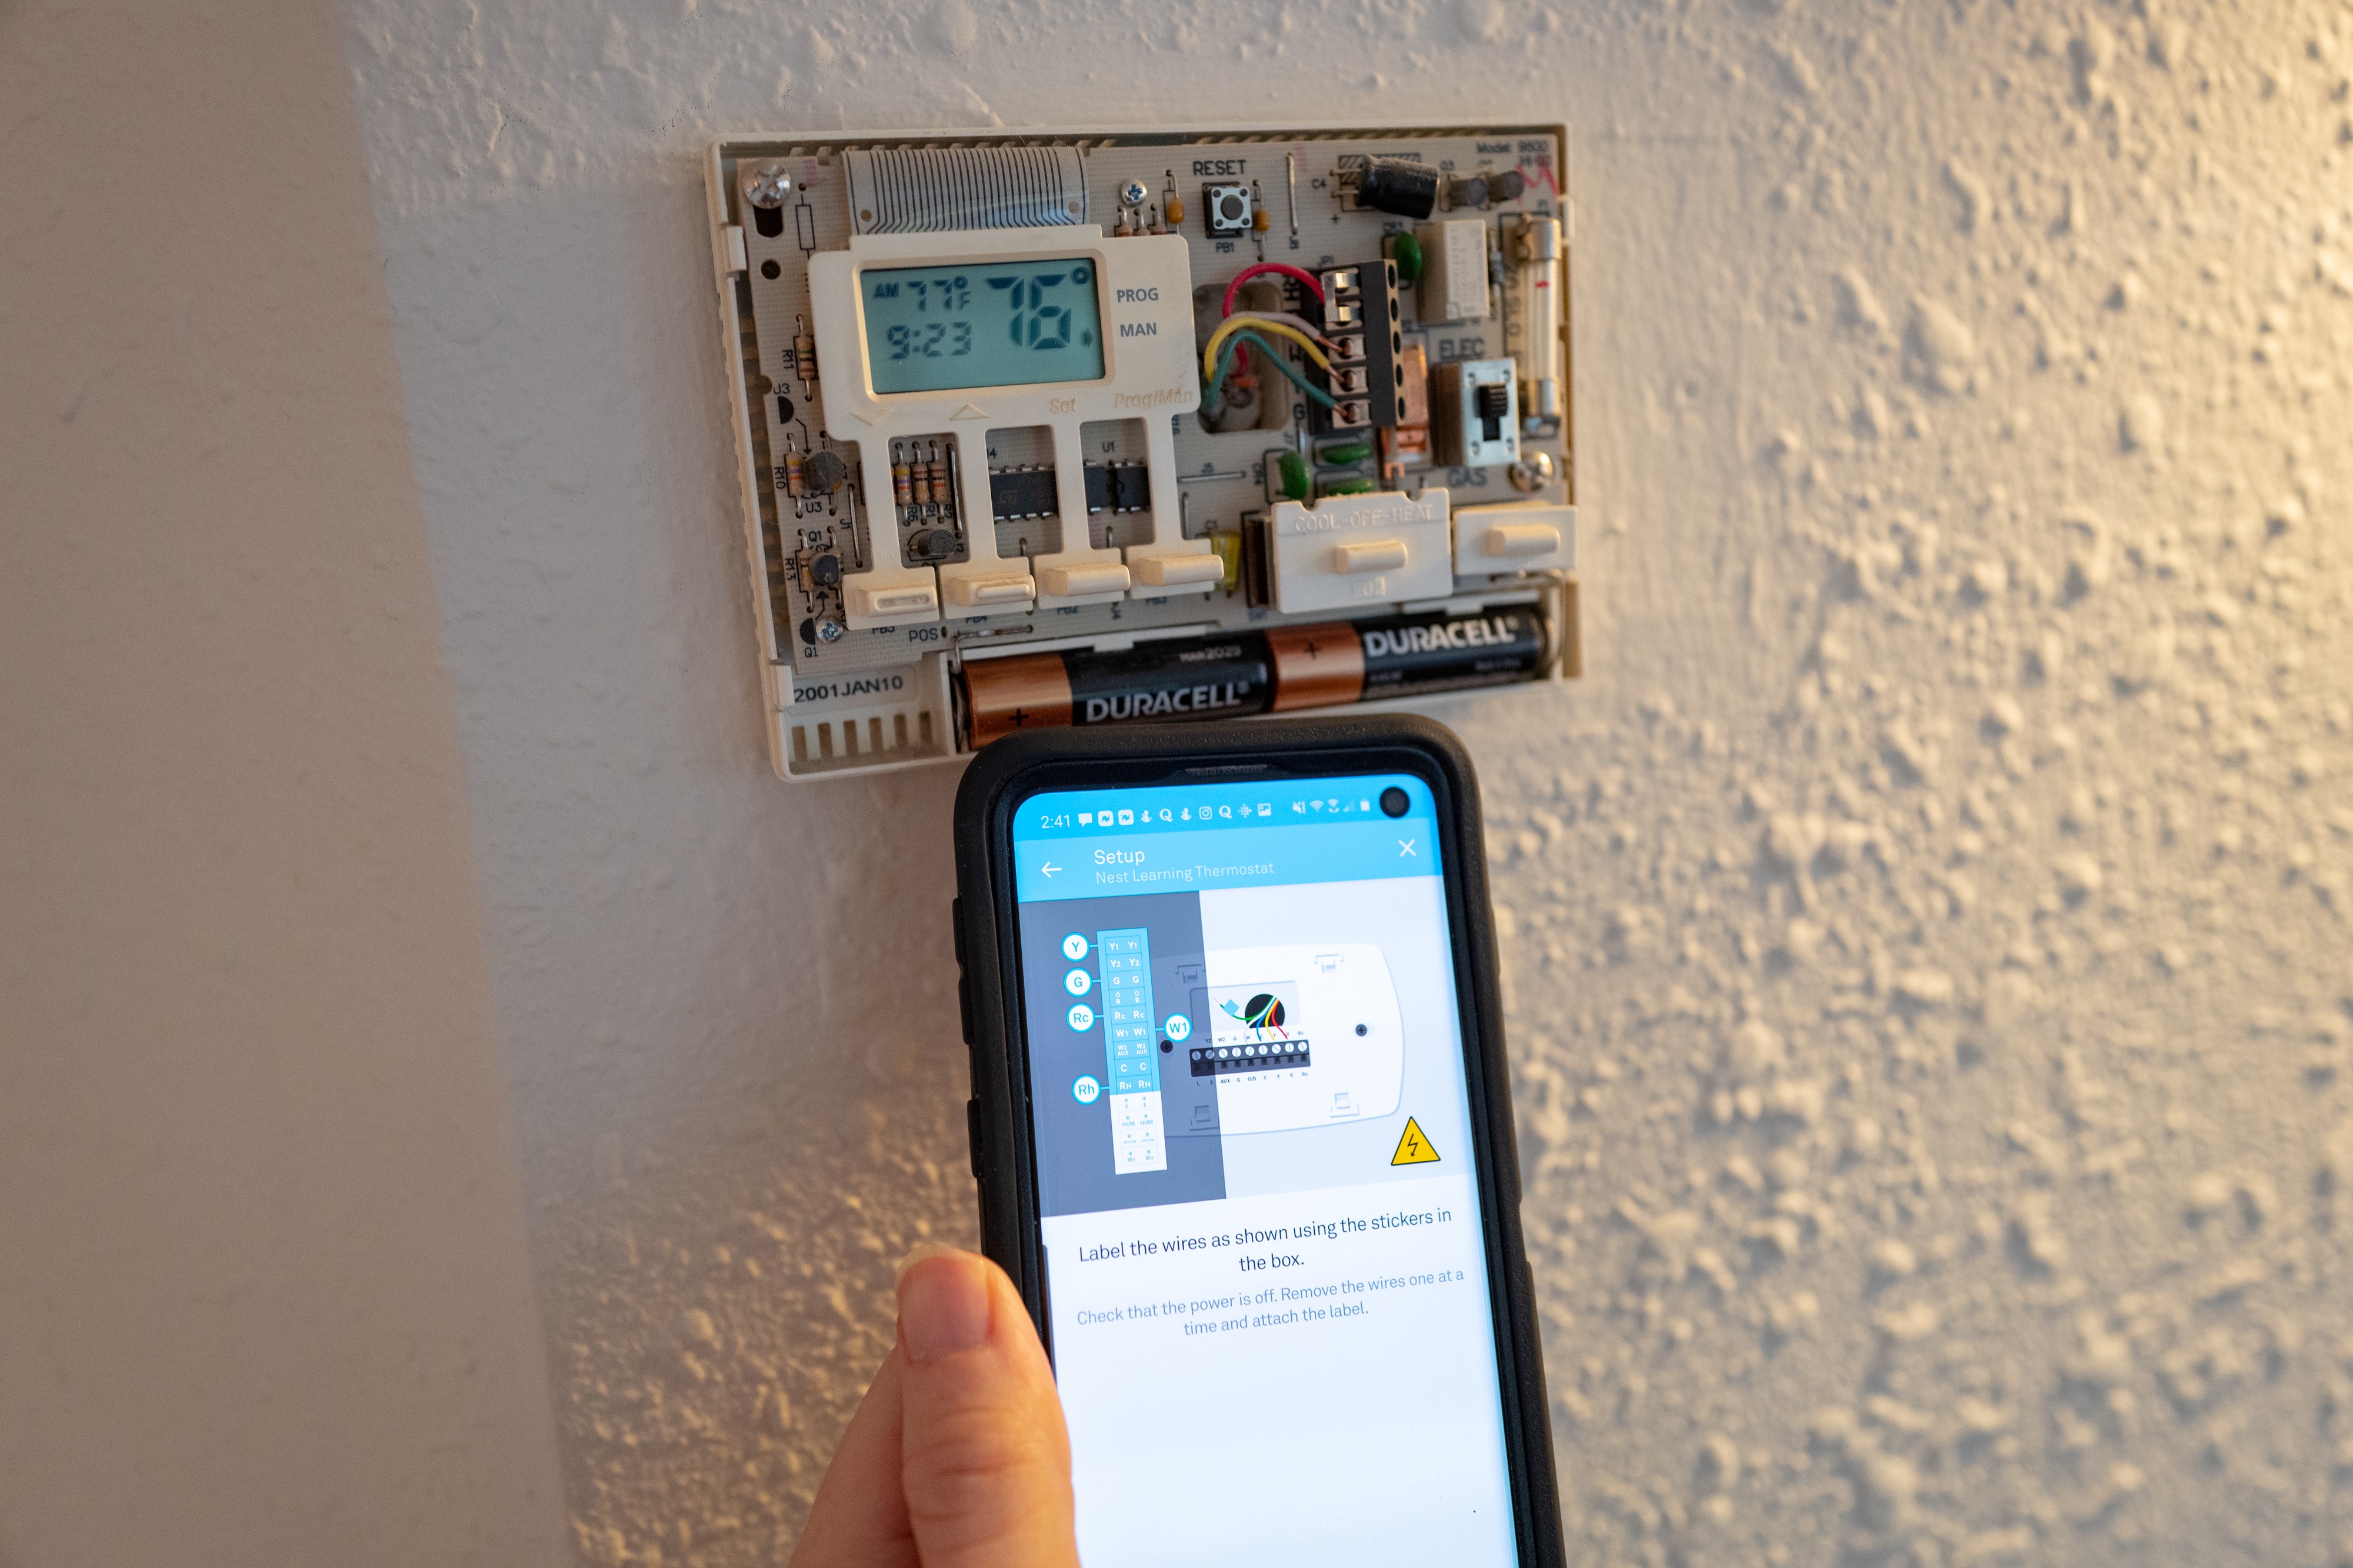
I then pulled up the Nest app on my phone, and selected the option to add a new device. I scanned the QR code on my thermostat, and the app brought up various screens to walk me through the install process.
At this point, Nest says to check to make sure there aren’t any high voltage wires in your own system. According to Nest:
If your thermostat is labeled 120V or 240V or has thick wires with wire nuts, your system is high voltage and isn’t compatible with the Nest thermostat. Do not connect the Nest thermostat to high-voltage wires.
If you suspect that your system might be high-voltage, stop immediately and call an electrician.
Mine wasn’t, so I moved ahead. First, I took a picture of the old thermostat, in case I need to install it again in the future (not likely!).
The next step was to use wire labels provided in the box with my thermostat in order to label the wires coming out of my wall. There are lots of different wires to choose from, so follow the instructions and check the panel on your old thermostat to label them properly.
